This project was borne out of frustration at the selection of cute jump drives at Frye’s. They were having a sale on decorative flash drives, but the only types available were Wolverine, Spiderman, and I think Iron Man?
They were boring and not quite to my personal taste, but they did make me want a really ridiculously impractically decorated jump drive. I picked up a basic Kingston 16 GB drive with a slide retraction case for the same price as the licensed 8 GB drives and finally figured out what I was going to do with the bag of random My Little Pony figures I snagged from Bobakhan Toys for only $2.50.
Materials
Jump drive
Minty My Little Pony figure
Paper clay
E6000
Mod Podge
Acrylic craft paint – green
Model makers grass
Painter’s tape
Tools
Paint brush – for paint
Paint brush – for Mod Podge
Mixing bowl – for paper clay
Instructions
To prep the drive, I coated the case in paper clay to keep it light but durable, making sure to keep the slide mechanism unobstructed. The idea was to create a grassy knoll as a base for the figure.
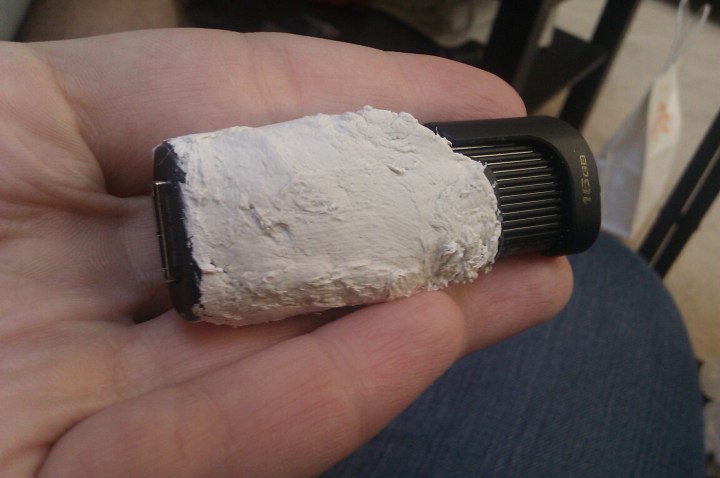
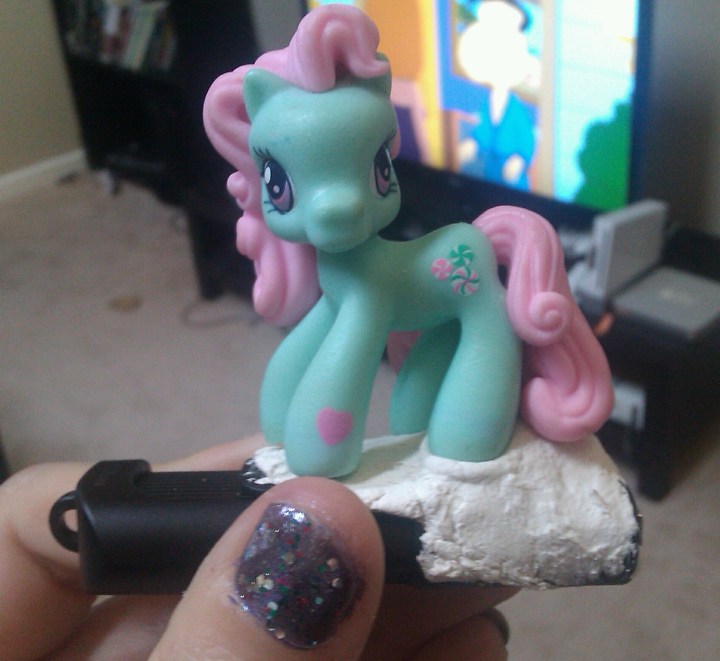
While the clay is still wet, sink the figure’s feet into the clay to make a level platform to later secure the pony. Let dry.
Once dry, start building out the case cover with extending layers of paper clay, again ensuring not to obstruct the slide case track.

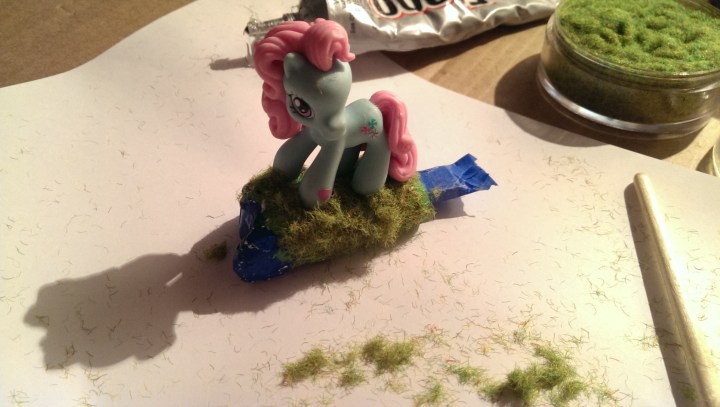
Once the casing is complete, tape off the usb stick with painter’s tape and paint the paper clay green with acrylic paint. 
Once the paint is dry, coat with Mod Podge and sprinkle with model grass. I got this from the War Hammer display at a local game shop.

Make sure to keep the area where you will secure the pony clear for best adhesion results.
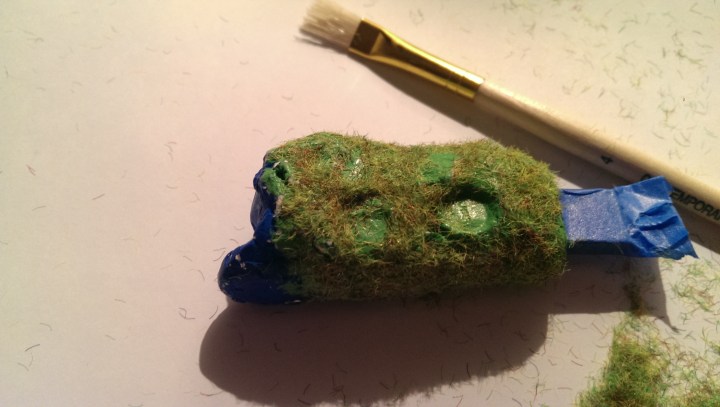
I did 2 coats of glue and grass to get the coverage that looked good to me.
Use E6000 to glue the pony feet to the paper clay base. Do not move for several hours to ensure strongest attachment results.
After this step, I went back and touched up the grass to cover the base completely.
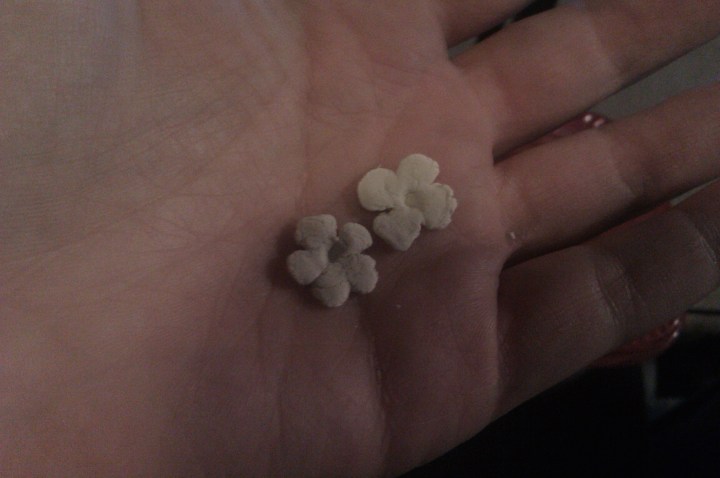
Originally I sculpted some flowers, but I wasn’t happy with the results.
While cleaning out my desk, I found these lego extras that I think came in the bag with the My Little Pony figures. At any rate, they contained lego flowers, and the project was back up and running.
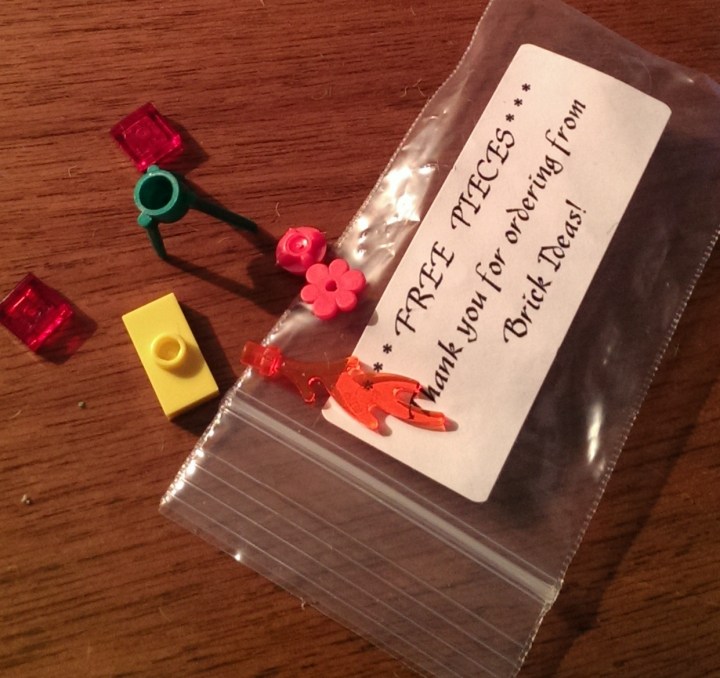
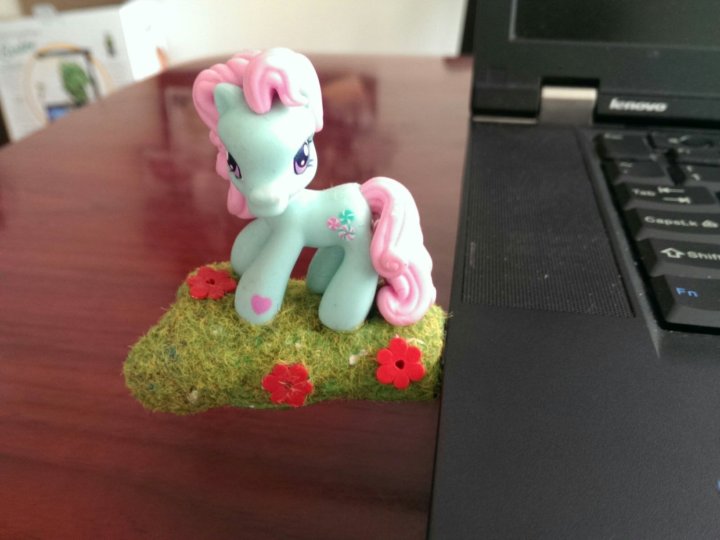
Glue the lego flowers to the base. Allow glue to cure to secure the flowers and you’re done! Remove painters tape and enjoy your adorable new jump drive.
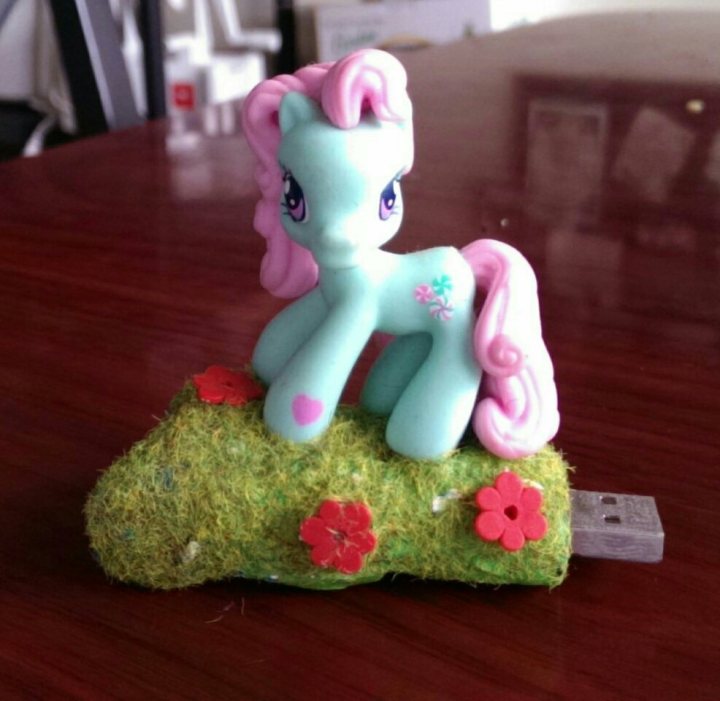
The USB fully retracts and stays safe and the pony and grass are quite secure. I’ve been using it for almost a year in this state and it’s going well so far. It gives me a smile to see it hulking off the side of my laptop.